|
× |
 |
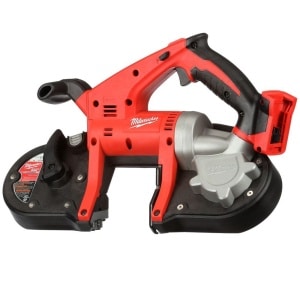
MILWAUKEE BANDSAW BLADE SPECIAL |
$790.00 |
|
$1,580.00 |
|
× |
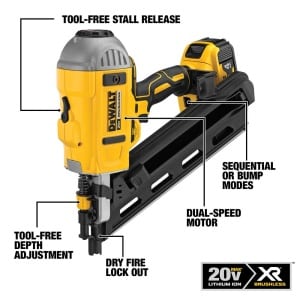 |
DEWALT 20 VOLT MAX FRAMING NAILER KIT SUPER SPECIAL!! |
$399.00 |
|
$1,197.00 |
|
× |
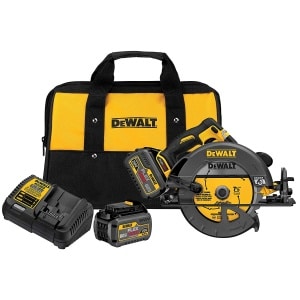 |
DEWALT 60V FLEXVOLT CIRCULAR SAW KIT SPECIAL |
$449.00 |
|
$1,347.00 |
|
× |
 |
IRWIN BLUE BI-METAL UTILITY KNIFE BLADE SPECIAL |
$99.00 |
|
$297.00 |
|
× |
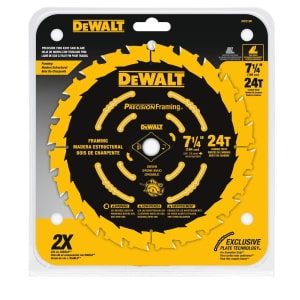 |
DEWALT CARBIDE BLADE & SAW SPECIAL |
$990.00 |
|
$1,980.00 |
|
× |
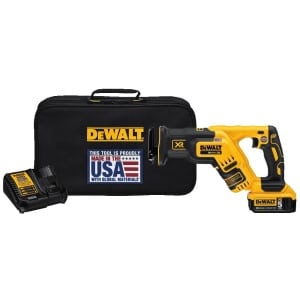 |
DEWALT 20V MAX RECIPROCATING SAW KIT SPECIAL!! |
$299.00 |
|
$598.00 |
|
× |
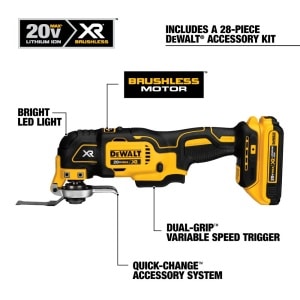 |
DEWALT 20V MAX MULTI-TOOL SPECIAL |
$259.90 |
|
$259.90 |
|
× |
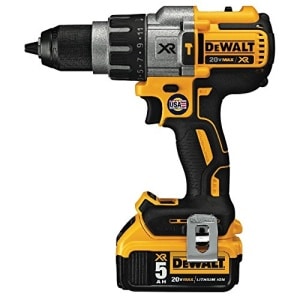 |
DEWALT 20V MAX HAMMERDRILL KIT SPECIAL!! |
$299.00 |
|
$299.00 |
|
× |
 |
DEWALT MULTI TOOL BLADE SPECIAL |
$499.00 |
|
$998.00 |
|
× |
 |
MILWAUKEE CORDLESS BANDSAW BLADE SPECIAL |
$890.00 |
|
$1,780.00 |
|
× |
 |
CARBIDE TIPPED SAW BLADE SPECIAL |
$699.00 |
|
$699.00 |
|
|
 MILWAUKEE SAWZALL BLADE SPECIAL$598.00 – $798.00
 (712 × 590 px) (650 × 500 px) (750 × 500 px)")